How to Transfer Digital Twins to Minecraft and Roblox
Tutorial on how to wear your phygital garments and accessories in your favorite games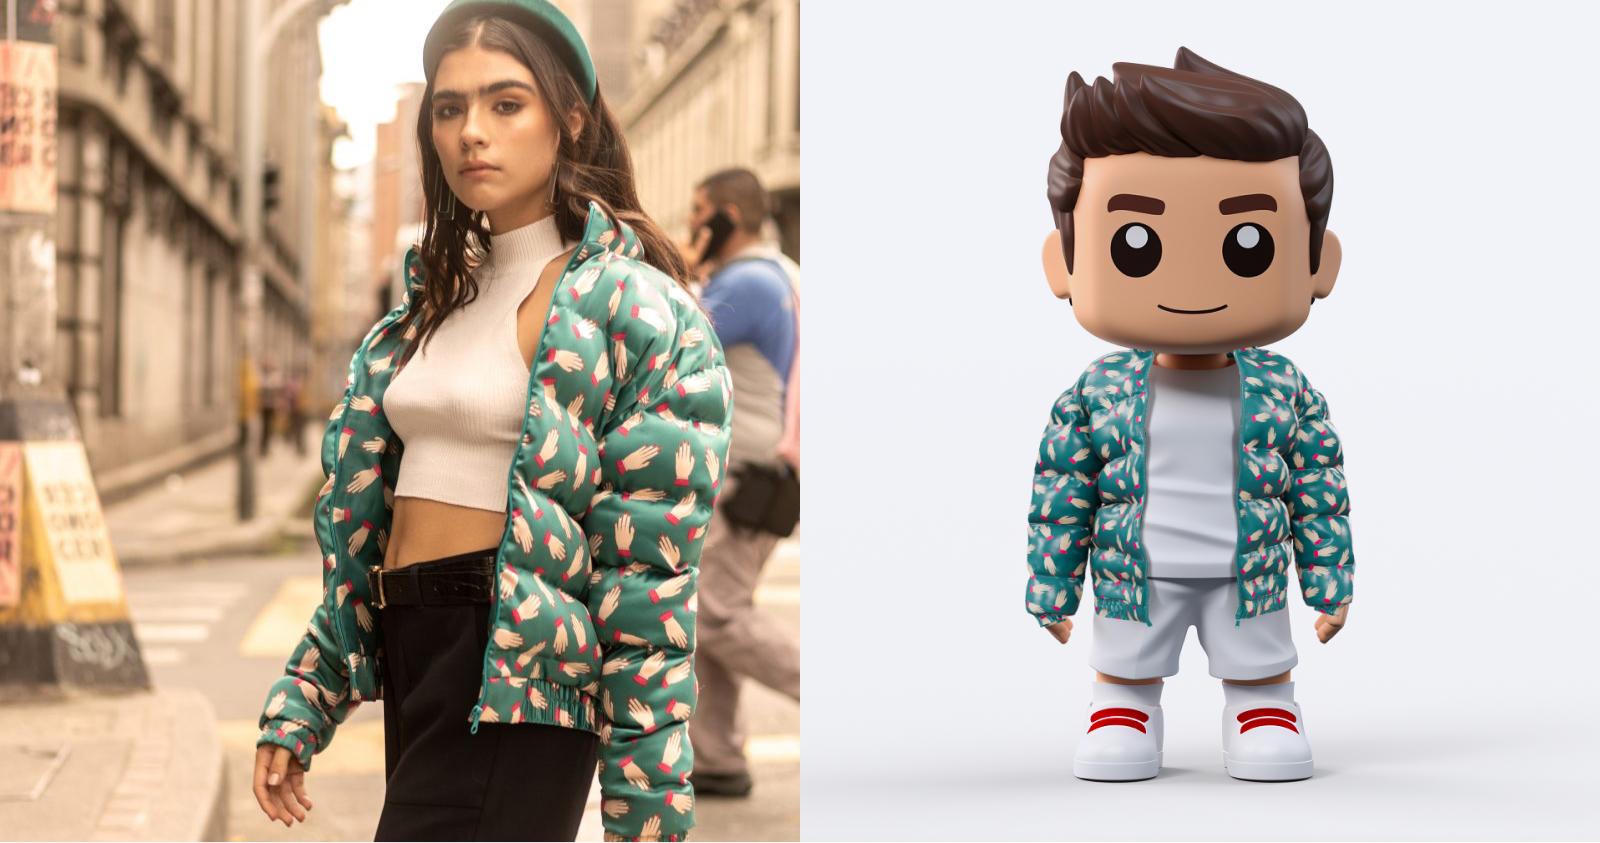
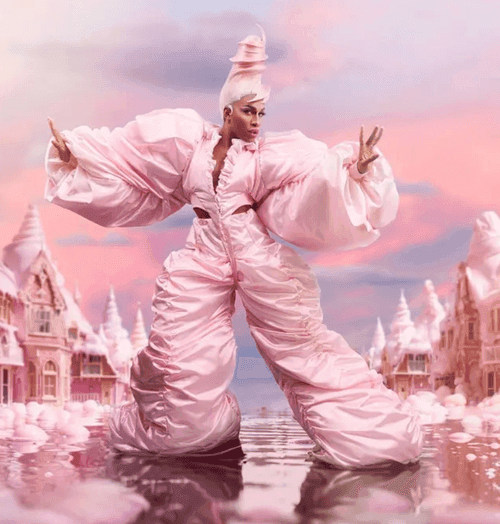
Fashion Meets Gaming: A Stylish Collaboration
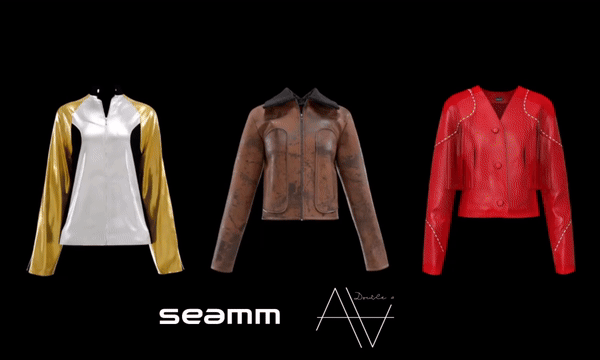
We, at the Seamm marketplace, bridge the gap between physical and digital fashion. Whether it's phygital collections or digital-only items, players now have the unique opportunity to flaunt their style in their favorite virtual universes.
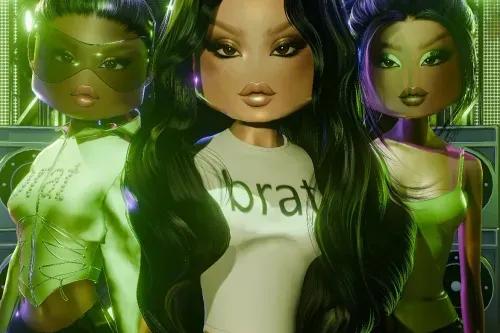
Customizing Your Digital Wardrobe
Transferring your fashion items into Minecraft's digital realm is straightforward yet thrilling. There are two editions: Java and Bedrock. Learn the differences between them here. Each edition offers its own benefits and is accessible on specific platforms. Here's a quick guide for both:
After purchasing a phygital garment or accessory on the Seamm marketplace, each customer receives its digital twin. By using a special button in the app interface, the digital twin can be saved on your device as a skin in image format.
For Minecraft Java Edition enthusiasts:
1. Log into the Minecraft Java Launcher and head to the 'Skins' section.

2. Use the 'Add New Skin' feature in the Skins Editor.
3. Name your new skin, then select 'Upload.' Choose the skin file previously saved from the Seamm app, and click 'Save and Use.'

4. Voilà - your Minecraft character gets a personalized makeover!

For fans of Minecraft Bedrock Edition:
1. Log into Minecraft Bedrock and head to the "Dressing Room."

2. Use the "Edit Character" feature in the Character Editor.

3. Navigate to "Classic Skins" and "Owned Skins," then select "Import," "Upload," or "Choose New Skin."


4. Upload your unique skin, and presto – your Minecraft avatar will receive a custom look!

For Roblox Trendsetters:
1. Open Roblox in your browser and log into your account.
2. Click on "Create," then "Manage my experiences" or head straight to the Creator’s page.


3. Select "Avatar Items" and choose your category.

4. Upload your custom asset for 20 ROBUX or $0.24, and wait for Roblox's confirmation.

5. Once approved, your unique style is ready to showcase on your avatar.

Questions or thoughts? We're here [email protected] to dive deeper into this fascinating fusion of tech and style.